How to Start an Online Radio Station, 2026 Edition
Starting an online radio station in 2026 is easier than ever. With a computer, simple broadcasting software, basic audio equipment, and a clear plan for your content, you can launch your station and share your voice with listeners around the world.
Key Takeaways
- Starting an online radio station in 2026 is accessible with basic equipment and software.
- Define your station’s purpose and format to guide your content and identity.
- Prepare simple audio equipment, like a USB microphone, and install broadcasting software such as Mixxx or BUTT.
- Create a broadcasting schedule for consistency and organize your audio content to run smoothly.
- Promote your station on social media and stay consistent to grow your listener base over time.
Table of contents
- Step 1: Define Your Station’s Purpose and Format
- Step 2: Prepare Your Basic Audio Equipment
- Step 3: Install Broadcasting Software
- Step 4: Organize Your Music and Audio Content
- Step 5: Create a Broadcasting Schedule
- Step 6: Configure Your Broadcasting Software
- Step 7: Prepare Your Station Branding
- Step 8: Promote Your Station
- Step 9: Stay Consistent and Improve Over Time
- Related Guides
- FAQs
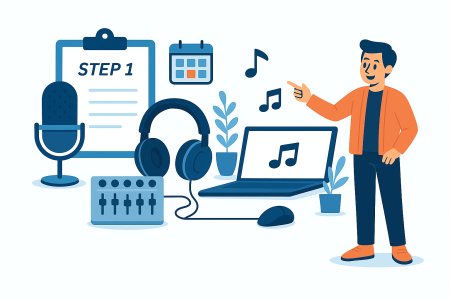
Step 1: Define Your Station’s Purpose and Format
Before touching any software or equipment, decide what your station will be about. This helps shape your content, schedule, and identity.
- Music station
- Talk radio or interviews
- Church or ministry broadcasting
- School or campus radio
- DJ mixes or live sets
Having a clear identity gives your station direction and helps listeners understand what to expect.
Step 2: Prepare Your Basic Audio Equipment
You do not need a professional studio to start. A simple setup works for most beginners.
- USB microphone or XLR mic with audio interface
- Headphones for monitoring your sound
- Quiet space with minimal background noise
If you plan to play external music sources, add a small mixer to your setup.
Step 3: Install Broadcasting Software
Your broadcasting software sends your live audio to your streaming system. Popular beginner-friendly tools include:
- Mixxx
- BUTT (Broadcast Using This Tool)
- Virtual DJ for mix-based stations
These programs let you control your microphone, music playlists, and live sessions from your computer.
Step 4: Organize Your Music and Audio Content
Plan your content before you go live. Organize your files into:
- Playlists for different moods or times of day
- Voice tracks or announcements
- Special shows or segments
Good organization helps your station run smoothly, whether you broadcast live or create a structured schedule.
Step 5: Create a Broadcasting Schedule
A schedule tells listeners when to tune in. It also keeps you consistent.
- Daily or weekly live shows
- Special music blocks
- Themed programs
- Replays or pre-recorded content
Consistency is one of the most important factors for building an audience.
Step 6: Configure Your Broadcasting Software
Once your content is ready, open your broadcasting software and set up your audio inputs.
- Choose your microphone
- Select your audio output device
- Adjust your volume levels
- Test your broadcast before going live
Doing a short test run ensures your audio sounds good and your levels are balanced.
Step 7: Prepare Your Station Branding
Your station should feel professional and recognizable. Create simple branding elements such as:
- Station name
- Logo
- Short tagline
- Show names
Branding helps listeners remember your station and makes your content feel polished.
Step 8: Promote Your Station
Promotion is essential for growing your listener base. Share your station on:
- Social media
- Your website or landing page
- YouTube or short-form videos
- Community groups
Tell people when your live shows happen and what kind of content they can expect.
Step 9: Stay Consistent and Improve Over Time
Your first shows will not be perfect, but improvement comes with practice. Stay consistent with:
- Your schedule
- Your audio quality
- Your promotion
With each broadcast, you will get more comfortable, and your audience will grow naturally.
Related Guides
- What Is Internet Radio Hosting
- Streaming Server Hosting Explained
- Internet Radio Hosting Plans Explained
- Beginner’s Guide to Online Radio
FAQs
What equipment do I need to start an online radio station?
You only need a microphone, headphones, a computer, and simple broadcasting software. A small mixer is optional for advanced setups.
Yes, beginners can get started with basic tools and simple software. Your skills will improve as you broadcast more often.
No, many affordable USB microphones offer excellent sound quality when used in a quiet space.
Share your station on social media, keep a consistent schedule, and promote your live shows regularly.
Broadcast as often as you can stay consistent. A predictable schedule helps listeners know when to tune in.